Friday 25 May 2018

Granny's Apple Scones

These scones I learnt to make with my granny in her kitchen on our holidays. The smell brings back happy memories of childhood, messiness and cake is always going to be a winner. I have altered the recipe slightly but have left it in the old measurements as my Granny had them. She passed this recipe on to me and I always feel honoured to recreate something one of the best bakers I know makes. My granny is one of the people who inspired me to start baking and inspires me every day with emails of her creations. This recipe also disproves the myth that scones are difficult to make, taking around 45 minutes from start to face! I recently made these for my partners work and they lasted only a few seconds. This recipe makes around 24 scones; trust me - there's no such thing as too many.


Ingredients:
1/2 lb cooking apples
16oz plain flour
6oz butter - I used dairy free
2 egg
2 tsp baking powder
4 oz sugar
100ml  milk - I used Soy milk
2 tsp cinnamon
Sugar crystals to top


Method:
Peel, core and chop the apples finely. Mix the flour and baking powder and rub in the butter. Add the sugar, cinnamon and apple and blend to a soft dough with the egg and the milk, adding a little at a time. Knead the ingredients together.


Roll out the dough to approx. ¾ inch think and cut into 2inch rounds. Place on a floured baking tray and sprinkle with the sugar crystals before baking at 160c for 30 minutes until golden brown and firm to touch.


Slather with butter and scoff, smiling happily.

Enjoy!

When you make these, please take a picture and tag me using #diaryofadefectivehousewife

Monday 21 May 2018

Queen of Cherry Tea Fruit Cake

One of my friends and I recently went on a mini road trip to visit a local-ish tea shop - the Bothan Ceol in Dingwall. The incredible range of teas was amazing for a self-confessed tea-aholic like myself but their 'Queen of Cherry' tea really drew me in. Armed with a wee bag of it, I couldn't resist making a version of a fruit cake I make in large quantities which always goes down a treat. The cake could easily be made with other teas but I personally think a trip to visit the Bothan Ceol makes it even more worth while.


This fruit cake is properly packed with fruit and properly  wrapped in greaseproof and in an airtight container can apparently last for a month but Ive never seen it last more than three days. Excellent for taking with you on long journeys, this cake is popular with everyone and is equally brilliant on its own or slathered in butter. This recipe makes two loaves as one is never enough!


Ingredients:
3 tbsp Queen of Cherry Tea
600ml hot water
1kg mixed dried fruit
500g self raising flour
250g caster sugar
2 eggs
3 tsp mixed spice
1 tub maraschino cherries


Method:
Place the tea leaves in a jug with the hot water and leave to stew for around ten minutes. Once the tea is ready, place the dried fruit into a bowl and pour the tea over, using a sieve to remove the leaves. Leave the fruit for as long as possible, at least an hour, to soak up the tea.

Preheat your oven to 180C and line two loaf tins with greaseproof paper.

Once the fruit has soaked in the tea, add the flour, sugar, eggs and mixed spice to the bowl along with the cherries which need to be chopped into quarters. Mix thoroughly until everything is combined, making sure to scrape right to the bottom of the bowl.


Spoon carefully into the two tins and smooth off the tops. Bake in the oven for 50-60 minutes until dark golden brown and firm to the touch. The cakes should now be weighty and smell insanely good. Allow to cool slightly before taking out the tins and stuffing in your face!

I really hope you enjoy making and eating this recipe as much as my family do and that you will go and visit The Bothan Ceol.

Enjoy!


Sunday 13 May 2018

Easy Tomato Spaghetti

This incredibly easy recipe has become a firm favourite in our home and its super quick to make which is always useful. This serves two people and can easily be added to with meat, other veggies or cheese but I love it just as it is. The fresh tomatoes roasted down make this the ideal summer dish.


Ingredients:

2 packets of cherry tomatoes (approx 60)
1 large handful fresh basil
2 large onions
6 cloves garlic
olive oil
salt and pepper
spaghetti for 2 people


Method:

Preheat your oven to 200c and place the tomatoes in a roasting tray. Add in the onions roughly chopped into chunks around the same size as the tomatoes and the garlic finely sliced. Roughly chop most of the basil and add to the tray. Generously season with salt and pepper and slather with olive oil. Place the dish in the oven and roast for about 15 minutes until the onions are translucent and the tomatoes are soft and squishy.

While the sauce is in the oven, cook the spaghetti to the instructions on the packet. Once the spaghetti is cooked, take the tomato mix and carefully mash all of the tomatoes with a fork to release the juices. The juice will be hot so take care not to splatter yourself.

Place the spaghetti pan back over a low heat and add in the tomato mix, stirring to coat the pasta in the oil and juices. Add in the last of the basil leave to wilt gently in the heat of the pasta.


Serve with your choice of toppings or just as is for an easy and fantastically easy meal.

When you make this, please take a picture and tag me using #diaryofadefectivehousewife

Enjoy!

Sunday 6 May 2018

Cinnamon Swirls

I have always adored cinnamon swirls so when my Other Half's work challenged me to make them I jumped at the chance. These swirls are more what I think of as 'American style' with a doughy bun-like swirls packed with cinnamon butter rather than the flaky slender pastries from my childhood but I have to confess, this is my preferred type. These do take a little while to make and lots of strong kneading so making these on a day where you have extra energy would be a good idea. Or just use a mixer and dough hook like I did! I also used dairy-free butter and soy milk, making these entirely vegan. Ideal as a treat, these buns are relatively easy to make and even easier to eat.


Ingredients:
Dough:
800g strong white flour
7g fast action dried yeast
1/2 tsp salt
100g caster sugar
500ml milk
150g butter

Filling:
2tbsp cinnamon
75g butter
75g caster sugar

sugar crystals to top

Method:
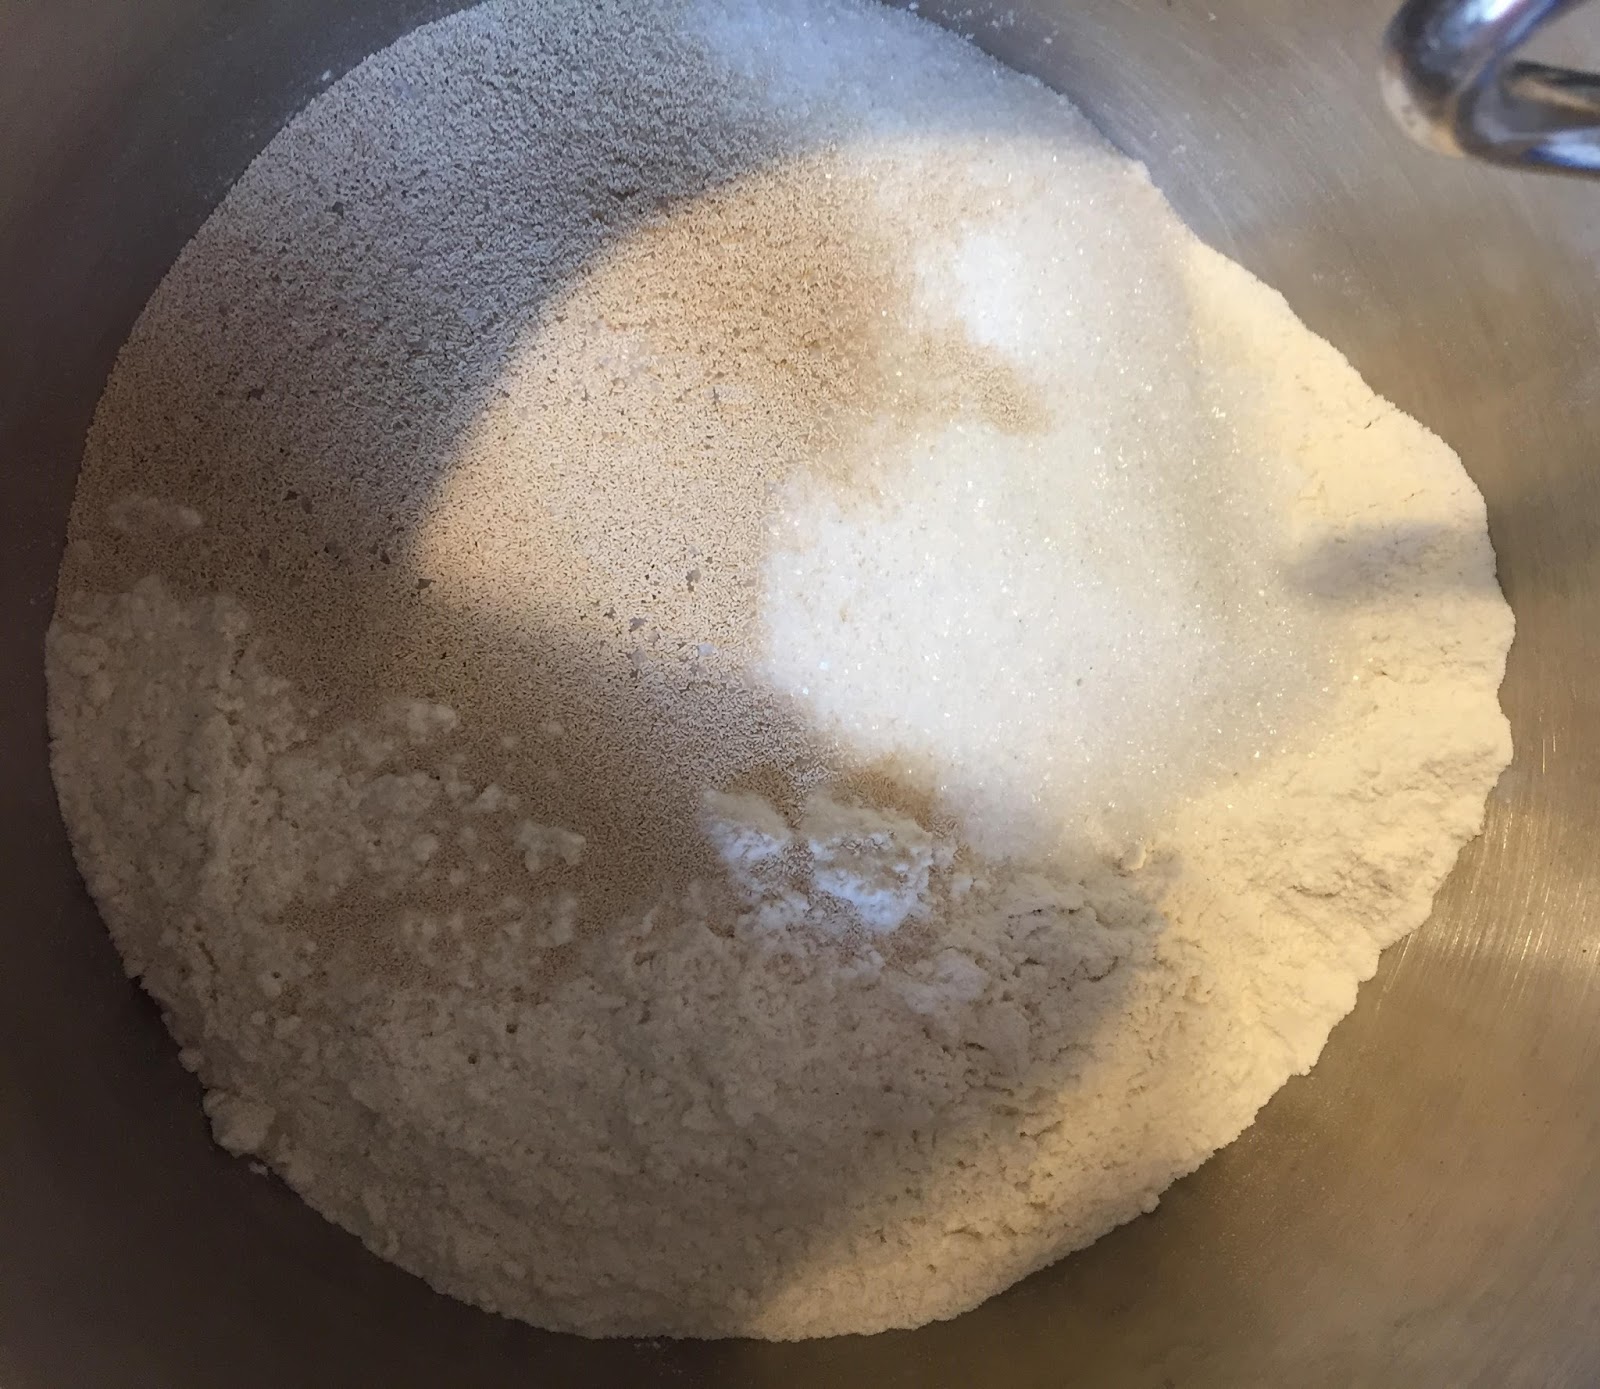
Gently melt the butter in a medium sized pan over a low heat then add in the milk and warm through until you can just dip a finger in but no more. While this is coming to temperature, place the rest of the dough ingredients into a large bowl or mixer keeping the salt and yeast on opposite sides of the bowl. Gently pour in the milk and butter and start to mix slowly, too fast and flour will end up everywhere.


Once the mixture is all combined, either tip it out onto a floured surface and knead for ten or so minutes until it is smooth and elastic or use a mixer with a dough hook and set on high for around 5 minutes until the result is the same.

Once the dough is formed, set to one side and mash together the filling ingredients until smoothly combined. Then take a large sheet of baking paper and lightly flour it. Place the dough on the paper and shape to a rough rectangle. Gently roll the dough out using a floured rolling pin until it is roughly 1cm thick, 30cm wide and 40cm long.


Gently spread the filling over the dough, I found getting my hands in at this point and pretending to be a kind finger painting really helps smooth the filling out. Take the filling right to the edges to ensure that each mouthful is a delight.


Carefully roll the dough starting from the side nearest you, easing it away from the paper with each turn. Once the dough is fully rolled, lightly dust the top with a touch of flour.


Take a sharp knife and roughly mark the dough into pieces 2cm thick. Dip the knife in flour and then cut each piece to form your swirled buns. Place the swirls on baking trays lined with baking paper then place in a warm spot to rise for atleast 20 minutes.

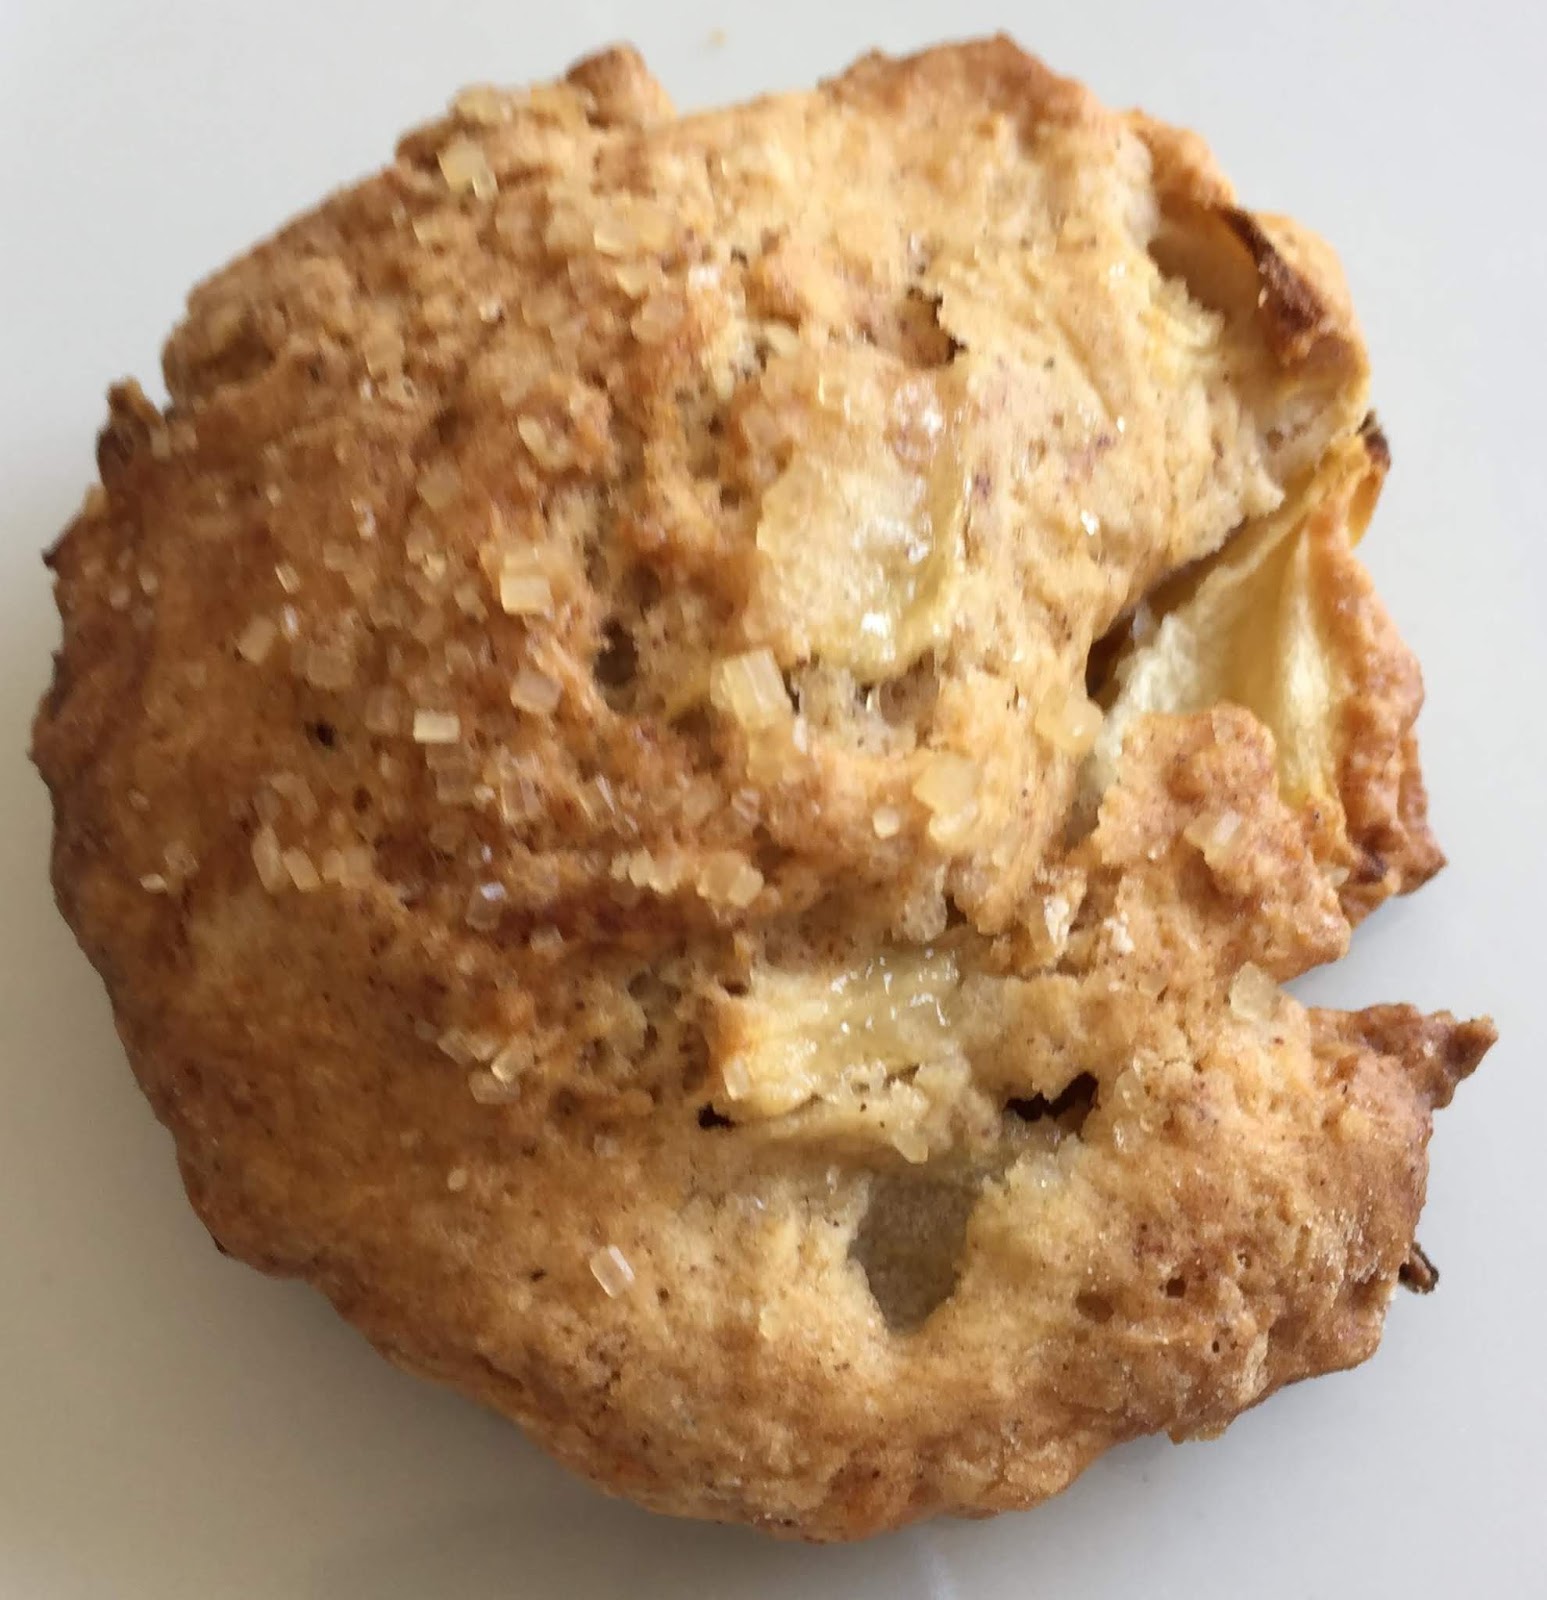
Preheat your oven to 200c while the swirls are proving. Once the have proved, sprinkle them with sugar crystals before popping them in the oven for around 10 minutes or until puffed up and golden brown.


Once the swirls are baked, place them on a cooling rack to set and cool before tucking in, the sugary filling gets extremely hot otherwise.

Please make these as I know you'll love them. When you do, take a pic and tag me using #diaryofadefectivehousewife.


ENJOY!