Showing posts with label dairy-free cake. Show all posts

Sunday, 22 July 2018

The Perfect Victoria Sponge

This recipe is one of the first things I learnt to bake by myself (with my mums help opening our incredibly heavy oven door) nearly 20 years ago and it has served me incredibly well since then. I cant begin to count how many times I have made this sponge, as well as using it as the base for so many of my other cake recipes. Once I stopped opening the oven door every 30 seconds to see if it was rising, this recipe has never failed me. Ideal as a sweet treat or for special occasions, this cake can be decorated with butter icing and all kinds but sometimes I think simplicity works best.

This recipe would also be ideal to make with children who are wanting to learn to bake... perfect for the summer holidays.


Ingredients:
6oz self raising flour
6oz caster sugar
6oz butter - I used dairy-free
3 large eggs
1 tsp baking powder
1/2 tsp vanilla extract
icing sugar for sprinkling
3-4 tbsp raspberry jam
butter for greasing


Method:

Preheat your oven to 160c fan and grease two cake tins with butter, making sure to apply a good layer to both the base and sides for a neat cake.

Place the butter, caster sugar, eggs, flour, baking powder and vanilla extract into a large bowl or food mixer and beat until the mixture becomes a light golden colour and all the ingredients are well incorporated. The consistency should be soft a fluffy feeling.

Carefully spoon the mixture into the two tins, as evenly as possible and gently smooth the tops with a spatula. You can also gently shake the tins from side to side to help the mixture spread evenly.

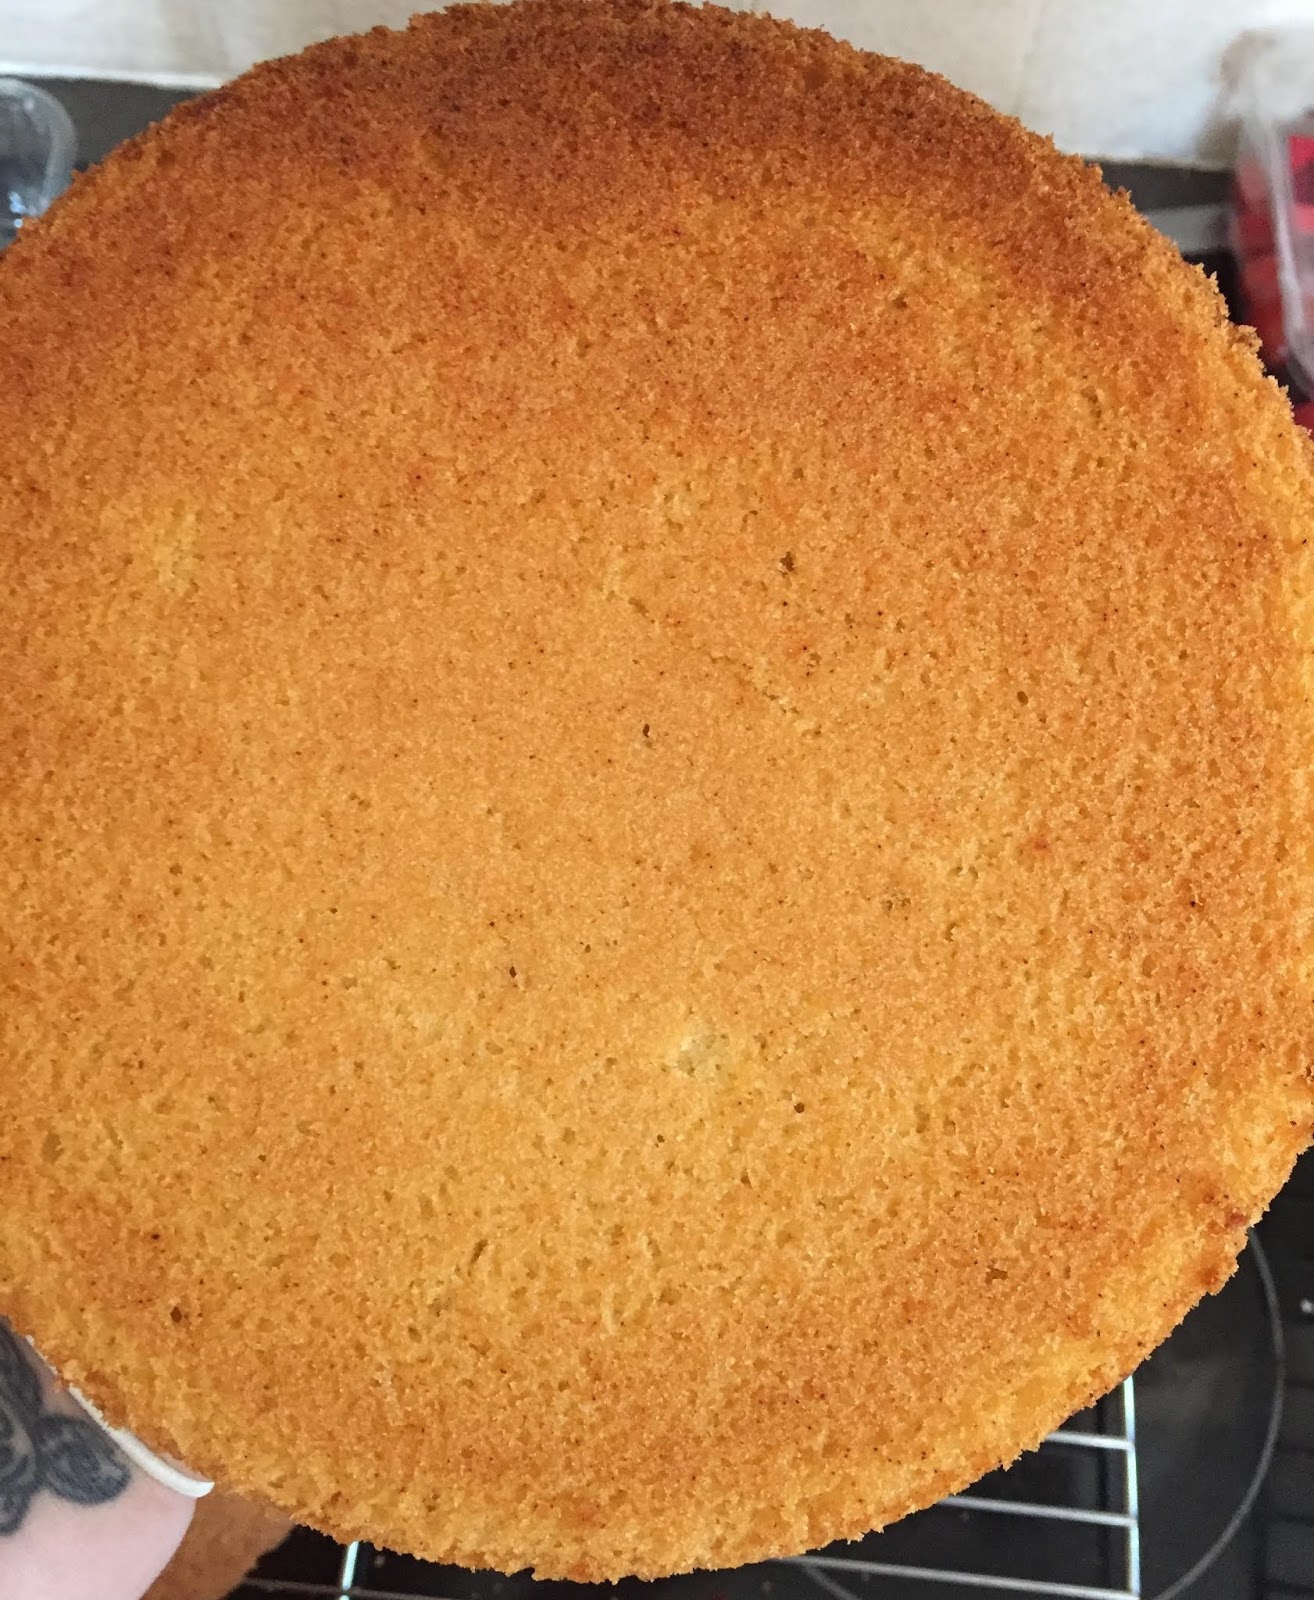
Bake for 20-25 minutes until the cakes are golden brown and have started to pull away from the sides of the tins. Once baked, place the cakes in their tins on baking racks to cool for 10 minutes.

To turn out the cakes, run a spatula or pallette knife around the outside of the cake to loosen the edges then carefully shake the cake up and down, moving your hands round after each shake until the cake loosens and becomes free in the tin. Tip the cake carefully either onto your hand or onto a plate before placing base down on a cooling rack.


Once the cakes are fully cooled, place one (if one has gone wrong, use this one) on a plate or cake stand and slather with raspberry jam to roughly 1cm from the edge as the jam will spread when the top layer goes on. Carefully place the other cake on top and gently sprinkle with icing sugar, either directly from the bag or through a sieve if its gone lumpy.


The cake should be beautifully moist and light golden brown on the inside with a slightly darker outside and an even layer of jam.

Serve a generous slice with a large cuppa and a huge sigh of delight.

When you make this, please take a picture and tag me using #diaryofadefectivehousewife

Enjoy!

Sunday, 17 June 2018

Lemon and Apple cake

This recipe came about after I made a batch of apple scones and had a couple of apples left over. I blended a few recipes to come up with this which my brother especially loved, and he's overly honest when it comes to my baking! Fresh and light, this recipe has a lovely summery feel.


Ingredients:

750g cooking apples
1 lemon - zest and juice
250g self raising flour
1 tsp baking powder
2 tsp cinnamon
2 tsp mixed spice
2 eggs
100g demerara sugar plus extra for sprinkling
200ml milk - I used soy
100ml sunflower oil


Method:

Preheat you oven to 170c fan and line and grease a 23cm loose bottom cake tin. Peel, core and finely chop the apples and place in a bowl with the lemon juice and zest and leave to one side.


Pop all of the dry ingredients into a large bowl and mix together. In a jug, measure out the sunflower oil and milk and add the eggs and beat together, this should look like something out of a zombie movie before beating but it will come together.

Add the wet mix to the dry mix and stir thoroughly, making sure to incorporate all of the ingredients together.


Gently add in the apples and stir before spooning into the prepared cake tin. Top with sugar and bake for 50-60 minutes until golden brown and a skewer comes out clean.


Leave to cool for around 10 minutes then carefully run a spatula around the sides of the tin. Place the tin on top of a large glass or tub and carefully slide the sides down. Lift the cake, still on the base, off and carefully tip top down onto a cooling rack to remove the base and paper. Allow to cool fully before serving.

This cake will, in theory, last around a week in an airtight container.

Enjoy!

When you make this please take a picture and tag me using #diaryofadefectivehousewife