Showing posts with label dairy-free. Show all posts

Sunday, 11 November 2018

Winter Salad

Having eaten rather a lot of pizzas and other delicious carbs recently my body has been crying out for a salad but I haven't fancied the usual lettuce, cucumber etc combo so I decided to create a hot salad using more wintery vegetables. The addition of the broccoli and asparagus offer a lightness to the dish while the addition of spices gives depth and warmth.


Ingredients:
1 large carrot
4 large fresh beetroot
300g cherry tomatoes
1 tsp all spice
1 tsp celery salt
1 bundle asparagus
1 pack tenderstem broccoli
1 pack woodland mushrooms
2 large cloves garlic
olive oil
butter - I use dairy-free

Method:
Preheat your oven to 160c. Peel and chop the beetroot and carrot into bite sized pieces and place in an oven dish. Add the tomatoes, all spice and celery salt then drizzle with olive oil before mixing thoroughly. Roast for 15-20 minutes until the vegetables are soft.


Trim and chop the asparagus and broccoli into bite sized pieces and steam lightly until just tender then add to the roasted vegetables and toss together.


While the green vegetables are steaming, add a large dollop of butter to a frying pan along with the garlic (crushed) and the mushrooms and saute until soft.


Serve immediately, topping the winter salad with the garlic mushrooms and drizzling over the melted butter.

When you make this, please take a picture and tag me using #diaryofadefectivehousewife.

Enjoy!

Sunday, 26 August 2018

Raspberry Ripple Muffins

These muffins are incredibly easy to make and would be ideal as a holiday baking treat if you have kids. The use of cups as a measurement makes this family friendly.  Perfect for using up bananas that are a bit past their best, this recipe uses their natural sweetness for a lush tasting muffin. The addition of a generous helping of raspberry jam makes these absolutely delicious.


Ingredients:
3 over ripe bananas
1/4 cup butter - I used dairy-free
1 cup caster sugar
2 cups plain flour
1 tsp baking powder
1 tsp salt
1 tsp vanilla extract
1 tsp cinnamon
3 tbsp raspberry jam


Method:
Preheat your oven to 160c and place 12 muffin cases in a tray. Mash the bananas in a large bowl then cream in the butter and sugar. Don't worry if it looks split, it all comes together. Add in the cinnamon, salt, baking powder and vanilla and mix thoroughly. Carefully fold in the flour until its all incorporated then add the jam and stir lightly, removing lumps but leaving a marbled effect in the batter.

Place a large tablespoon of mixture in each muffin case and top up with any leftovers to get evenly sized muffins. Bake for 25 minutes until springy to the touch and a golden brown.


Serve warm with a large cup of tea. Told you these were easy!

When you make these, please take a picture and tag me using #diaryofadefectivehousewife.

Enjoy!

Sunday, 24 June 2018

Sticky Toffee Pudding

One thing I have always missed since going dairy-free is being able to have a selection of puddings when eating out. I adore proper rib sticking, more calories than its worth thinking of, puddings. My local Health Food Shop had bags of dates on special which inspired me to revisit an all time childhood favourite, Sticky Toffee Pudding. I made the recipe my own with more dates than normal as well as a couple of other tweaks to make these the ultimate in indulgence. We scoffed ours with big scoops of vanilla ice cream for a more summery treat but a banana custard would be equally delicious over the top.


Ingredients:
For the Puddings:
230g pitted dates
175ml boiling water
2 tsp vanilla extract
175g self raising flour
1 tsp bicarbonate of soda
2 eggs
85g butter - I used soy
140g demerara sugar
2 tbsp treacle
100ml milk - I used soy

For the sauce:
175g sugar
50g butter
225ml cream - I used soy
1 tbsp treacle


Method:
Roughly chop the dates into small pieces and place in a bowl with the hot water and set to one side for half an hour. While the dates are soaking, preheat your oven to 160c fan. Take a muffin tray and coat each muffin cup with butter and then a dusting of flour to prevent sticking.

In a seperate bowl, beat together the butter and sugar until combined and creamy then carefully add in the eggs and treacle. Gently fold in the flour and bicarb before adding the milk and mixing well until a thick batter forms.

Add the vanilla extract to the dates before mashing them with a fork to break them down, Add  to the batter and mix well. Spoon the mixture carefully into the pre-prepared cake tins and bake for 20 -25 mins until springy to touch and a skewer comes out clean. Leave in the tins to cool for 5 minutes before carefully turning out onto a cooling rack.


While the puddings are baking, melt together the sugar and butter for the sauce with half the cream. Once these have melted together, add the treacle and let bubble for a few minutes until it becomes a rich toffee colour. Remove from the heat and add the rest of the cream.

Place the puddings onto dishes and top with the sauce, if you can leave them overnight to soak and become delightfully sticky then even better.  Pop in the oven at 160c fan for around 20 minutes to reheat until the sauce is bubbling.

Serve hot with ice cream or custard.

When you make these, please take a picture and tag me using #diaryofadefectivehousewife


Sunday, 17 June 2018

Lemon and Apple cake

This recipe came about after I made a batch of apple scones and had a couple of apples left over. I blended a few recipes to come up with this which my brother especially loved, and he's overly honest when it comes to my baking! Fresh and light, this recipe has a lovely summery feel.


Ingredients:

750g cooking apples
1 lemon - zest and juice
250g self raising flour
1 tsp baking powder
2 tsp cinnamon
2 tsp mixed spice
2 eggs
100g demerara sugar plus extra for sprinkling
200ml milk - I used soy
100ml sunflower oil


Method:

Preheat you oven to 170c fan and line and grease a 23cm loose bottom cake tin. Peel, core and finely chop the apples and place in a bowl with the lemon juice and zest and leave to one side.


Pop all of the dry ingredients into a large bowl and mix together. In a jug, measure out the sunflower oil and milk and add the eggs and beat together, this should look like something out of a zombie movie before beating but it will come together.

Add the wet mix to the dry mix and stir thoroughly, making sure to incorporate all of the ingredients together.


Gently add in the apples and stir before spooning into the prepared cake tin. Top with sugar and bake for 50-60 minutes until golden brown and a skewer comes out clean.


Leave to cool for around 10 minutes then carefully run a spatula around the sides of the tin. Place the tin on top of a large glass or tub and carefully slide the sides down. Lift the cake, still on the base, off and carefully tip top down onto a cooling rack to remove the base and paper. Allow to cool fully before serving.

This cake will, in theory, last around a week in an airtight container.

Enjoy!

When you make this please take a picture and tag me using #diaryofadefectivehousewife


Friday, 25 May 2018

Granny's Apple Scones

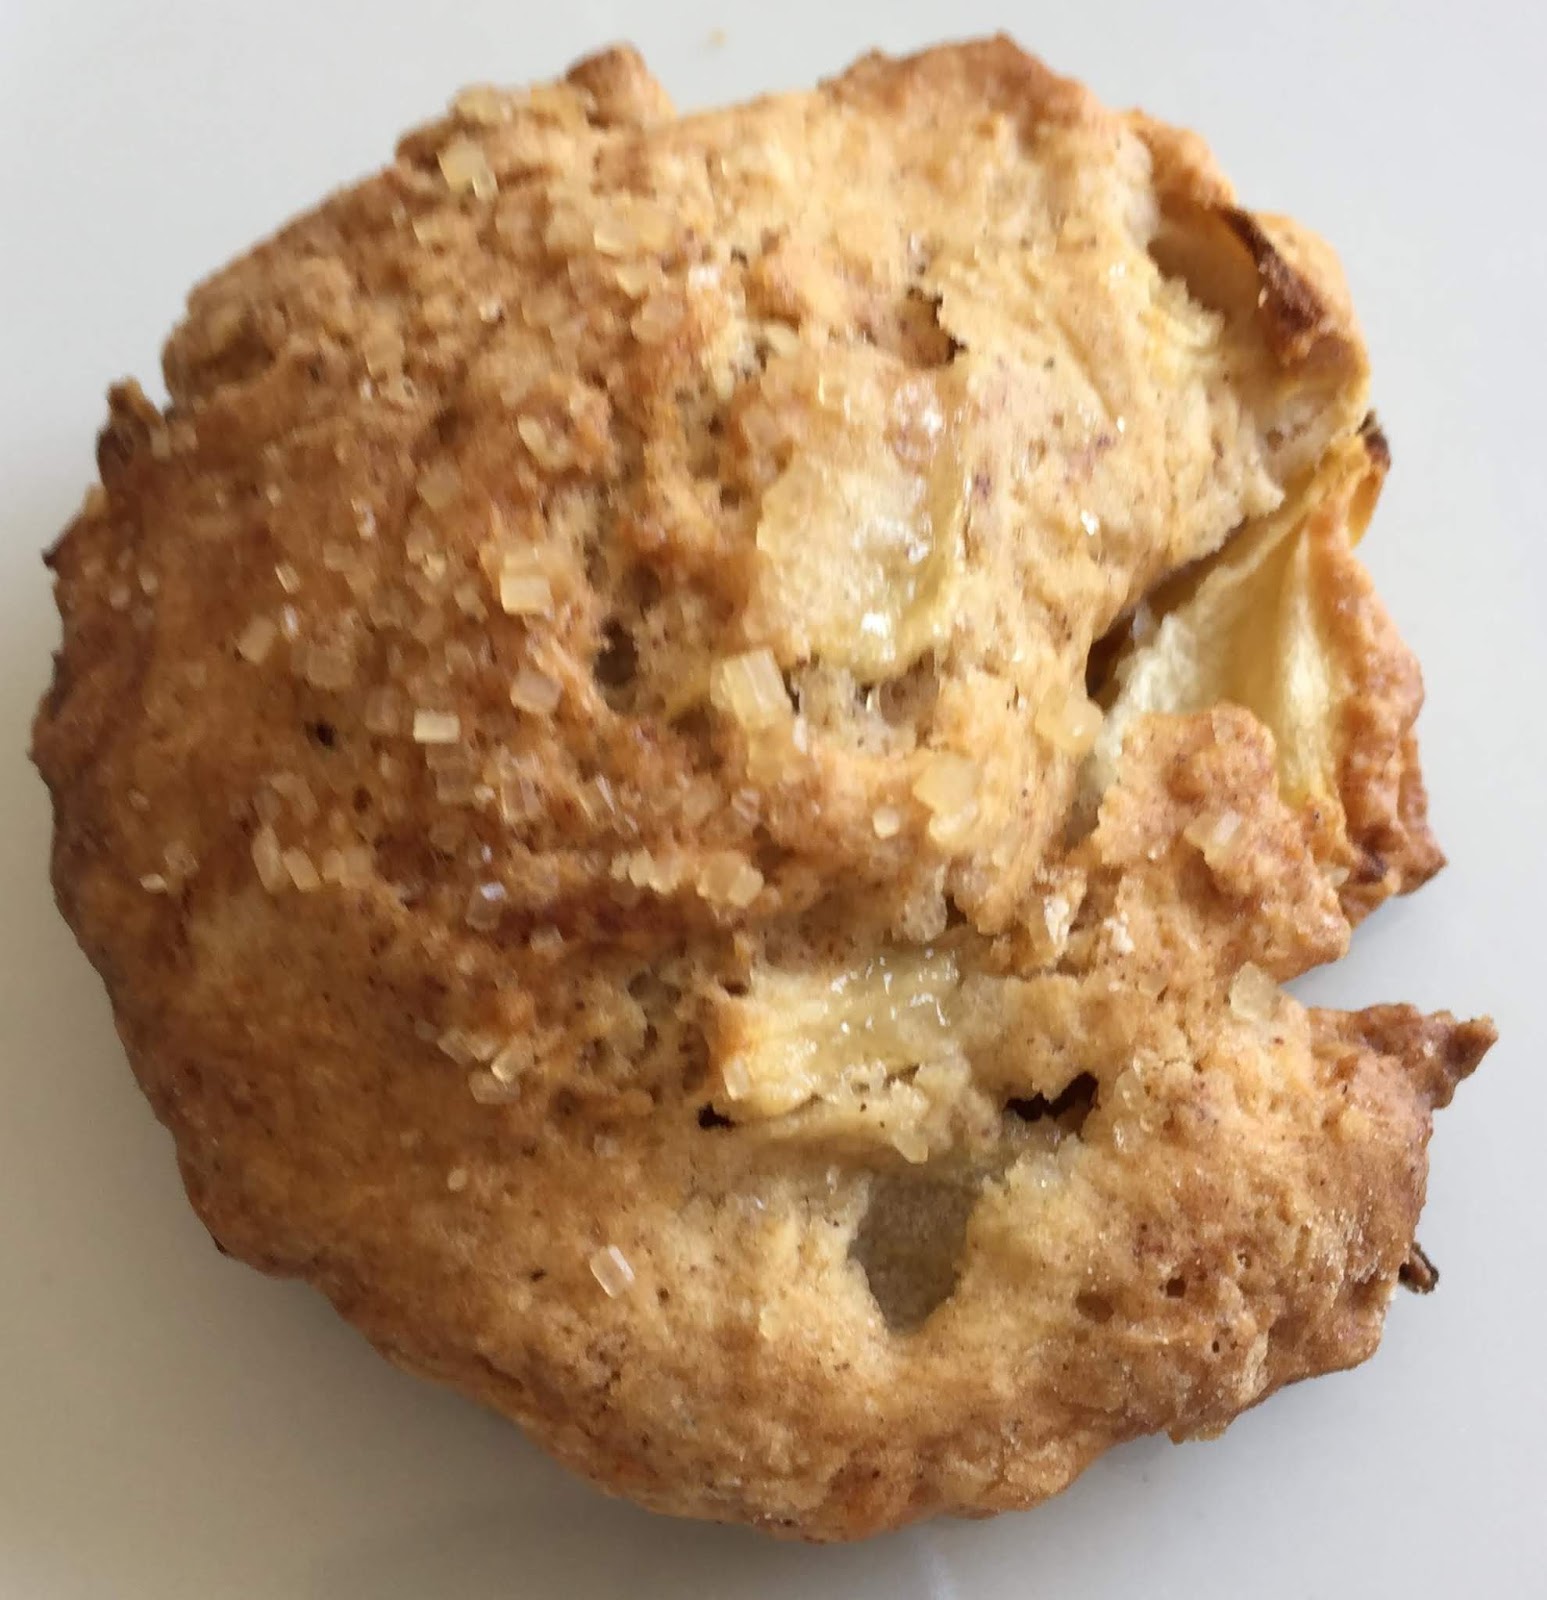
These scones I learnt to make with my granny in her kitchen on our holidays. The smell brings back happy memories of childhood, messiness and cake is always going to be a winner. I have altered the recipe slightly but have left it in the old measurements as my Granny had them. She passed this recipe on to me and I always feel honoured to recreate something one of the best bakers I know makes. My granny is one of the people who inspired me to start baking and inspires me every day with emails of her creations. This recipe also disproves the myth that scones are difficult to make, taking around 45 minutes from start to face! I recently made these for my partners work and they lasted only a few seconds. This recipe makes around 24 scones; trust me - there's no such thing as too many.


Ingredients:
1/2 lb cooking apples
16oz plain flour
6oz butter - I used dairy free
2 egg
2 tsp baking powder
4 oz sugar
100ml  milk - I used Soy milk
2 tsp cinnamon
Sugar crystals to top


Method:
Peel, core and chop the apples finely. Mix the flour and baking powder and rub in the butter. Add the sugar, cinnamon and apple and blend to a soft dough with the egg and the milk, adding a little at a time. Knead the ingredients together.


Roll out the dough to approx. ¾ inch think and cut into 2inch rounds. Place on a floured baking tray and sprinkle with the sugar crystals before baking at 160c for 30 minutes until golden brown and firm to touch.


Slather with butter and scoff, smiling happily.

Enjoy!

When you make these, please take a picture and tag me using #diaryofadefectivehousewife

Monday, 21 May 2018

Queen of Cherry Tea Fruit Cake

One of my friends and I recently went on a mini road trip to visit a local-ish tea shop - the Bothan Ceol in Dingwall. The incredible range of teas was amazing for a self-confessed tea-aholic like myself but their 'Queen of Cherry' tea really drew me in. Armed with a wee bag of it, I couldn't resist making a version of a fruit cake I make in large quantities which always goes down a treat. The cake could easily be made with other teas but I personally think a trip to visit the Bothan Ceol makes it even more worth while.


This fruit cake is properly packed with fruit and properly  wrapped in greaseproof and in an airtight container can apparently last for a month but Ive never seen it last more than three days. Excellent for taking with you on long journeys, this cake is popular with everyone and is equally brilliant on its own or slathered in butter. This recipe makes two loaves as one is never enough!


Ingredients:
3 tbsp Queen of Cherry Tea
600ml hot water
1kg mixed dried fruit
500g self raising flour
250g caster sugar
2 eggs
3 tsp mixed spice
1 tub maraschino cherries


Method:
Place the tea leaves in a jug with the hot water and leave to stew for around ten minutes. Once the tea is ready, place the dried fruit into a bowl and pour the tea over, using a sieve to remove the leaves. Leave the fruit for as long as possible, at least an hour, to soak up the tea.

Preheat your oven to 180C and line two loaf tins with greaseproof paper.

Once the fruit has soaked in the tea, add the flour, sugar, eggs and mixed spice to the bowl along with the cherries which need to be chopped into quarters. Mix thoroughly until everything is combined, making sure to scrape right to the bottom of the bowl.


Spoon carefully into the two tins and smooth off the tops. Bake in the oven for 50-60 minutes until dark golden brown and firm to the touch. The cakes should now be weighty and smell insanely good. Allow to cool slightly before taking out the tins and stuffing in your face!

I really hope you enjoy making and eating this recipe as much as my family do and that you will go and visit The Bothan Ceol.

Enjoy!


Sunday, 6 May 2018

Cinnamon Swirls

I have always adored cinnamon swirls so when my Other Half's work challenged me to make them I jumped at the chance. These swirls are more what I think of as 'American style' with a doughy bun-like swirls packed with cinnamon butter rather than the flaky slender pastries from my childhood but I have to confess, this is my preferred type. These do take a little while to make and lots of strong kneading so making these on a day where you have extra energy would be a good idea. Or just use a mixer and dough hook like I did! I also used dairy-free butter and soy milk, making these entirely vegan. Ideal as a treat, these buns are relatively easy to make and even easier to eat.


Ingredients:
Dough:
800g strong white flour
7g fast action dried yeast
1/2 tsp salt
100g caster sugar
500ml milk
150g butter

Filling:
2tbsp cinnamon
75g butter
75g caster sugar

sugar crystals to top

Method:
Gently melt the butter in a medium sized pan over a low heat then add in the milk and warm through until you can just dip a finger in but no more. While this is coming to temperature, place the rest of the dough ingredients into a large bowl or mixer keeping the salt and yeast on opposite sides of the bowl. Gently pour in the milk and butter and start to mix slowly, too fast and flour will end up everywhere.


Once the mixture is all combined, either tip it out onto a floured surface and knead for ten or so minutes until it is smooth and elastic or use a mixer with a dough hook and set on high for around 5 minutes until the result is the same.

Once the dough is formed, set to one side and mash together the filling ingredients until smoothly combined. Then take a large sheet of baking paper and lightly flour it. Place the dough on the paper and shape to a rough rectangle. Gently roll the dough out using a floured rolling pin until it is roughly 1cm thick, 30cm wide and 40cm long.


Gently spread the filling over the dough, I found getting my hands in at this point and pretending to be a kind finger painting really helps smooth the filling out. Take the filling right to the edges to ensure that each mouthful is a delight.


Carefully roll the dough starting from the side nearest you, easing it away from the paper with each turn. Once the dough is fully rolled, lightly dust the top with a touch of flour.


Take a sharp knife and roughly mark the dough into pieces 2cm thick. Dip the knife in flour and then cut each piece to form your swirled buns. Place the swirls on baking trays lined with baking paper then place in a warm spot to rise for atleast 20 minutes.

Preheat your oven to 200c while the swirls are proving. Once the have proved, sprinkle them with sugar crystals before popping them in the oven for around 10 minutes or until puffed up and golden brown.


Once the swirls are baked, place them on a cooling rack to set and cool before tucking in, the sugary filling gets extremely hot otherwise.

Please make these as I know you'll love them. When you do, take a pic and tag me using #diaryofadefectivehousewife.


ENJOY!


Monday, 16 April 2018

Pear and Banana Muffins

To me, a muffin is kind of a cross between a dough based bun and a cupcake which its semi-acceptable to eat for breakfast. These ones contain two different types of fruit so must be at least a little health! I had some leftover cooking chocolate from a previous recipe so I melted this down with a dash of vanilla extract and drizzled it over the top but do omit this if you are pretending these are healthy. Not overly sweet, these make a great snack or I would happily scoff one with a cuppa for breakfast without too much guilt. Winner! These are also very easy to make and could easily be done with kids to get them involved with their food.


Ingredients:
3-4 large ripe bananas
1/2 cup of sugar
2 large eggs
2 tbsp olive oil
1 tsp vanilla extract
1.5 cups plain flour
1 tsp bicarbonate of soda
1 pinch salt
1 large pear, chopped into small cubes

Optional:
1 bar dark cooking chocolate
2 tsp vanilla extract


Method:

Preheat your oven to 180c and pop 12 muffin cases into a muffin tin. In a large bowl mash the bananas then add in the sugar, eggs, oil and vanilla and beat gently to combine. Carefully fold in the flour, bicarb and salt to create a thick doughy batter then fold in the pear chunks taking care to stir as little as possible so as to not overwork the dough.

Place roughly 2 tbsp of the mix into each cupcake case before baking for 25-30 minutes until golden brown and a skewer come out clean when inserted down the middle. Take out of the tray and leave on a wire rack to cook. I could resist the smell and had one still hot out the paper resulting in  burnt fingers and tongue but totally worth it!

Once the muffins have cooled, melt the chocolate and vanilla together in a pan over a low heat and drizzle the chocolate over the top of the muffins for a more indulgent treat.

When you make these, please take a picture and tag me using #diaryofadefectivehousewife

Enjoy!


Sunday, 1 April 2018

Battenburg Cake

Battenburg is a huge favourite in my home and I personally love anything wrapped in marzipan. This is my take on my Granny's recipe and is far easier to make than I had originally thought. I used raspberry jam through the cake rather than the more traditional apricot and my 'pink' turned out rather darker but the definition is clearly there and it tasted amazing. This makes two cakes, neither of which lasted long at all.


Ingredients:
175g butter x2
175g caster sugar x2
140g self raising flour x2
50g ground almonds x2
1/2 tsp baking powder x2
3 medium eggs x2
1/2 tsp vanilla extract x2
1/2 tsp almond extract
1tsp pink food colouring
1 jar seedless raspberry jam
500g block marzipan x2

Method:

Preheat your oven to 160c fan and line an 20cm square tin using two strips of baking paper crossed over at the base. Place one set of the butter, sugar, flour, almonds, baking powder, eggs and vanilla extract into a large bowl along with the almond extract and mix until all the ingredients are thoroughly incorporated and the mixture is glossy and smooth. Pour this into the baking tray making sure to carefully level the top of the cake. Bake for 20-25 minutes until a skewer comes out clean and the cake springs back to the touch. Let cool in the tin while you make up the next batter.

Place the second set of ingredients into a large bowl, replacing the almond extract with the food colouring. I would add this a little at a time until the desired colour is reached, you may need slightly more or less depending on the brand used. Remove the first cake from the tin and repeat the process of lining the tin and baking the second cake. If you are lucky enough to have two tins then both cakes can be baked at the same time.


Leave the cakes until they are entirely cool. Use this time to do the washing up and do battle with the marzipan! Take a block of marzipan and warm it between your hands to make it more pliable. Place between two large sheets of baking paper and use a heavy rolling pin to roll the marzipan to approximately 20cm x 20cm and 0.5cm thick, a little extra length and width is great as it can be trimmed off but leaves room for error!

Gently heat the raspberry jam until it becomes runny and easy to work.

Carefully cut each cake into 4 slices approximately the same width. You could use a ruler for this step but I just eyeballed it with surprising success.

Peal the top layer of paper off the marzipan but leave it on the bottom layer as this helps to wrap the cake. Carefully paint the marzipan with jam then place a slice of the almond cake across the middle. Put jam down the side of the slice of cake and gently press in a pink slice. Spread jam over the top of both before placing the second slices over the opposite colour to create the checkerboard look. Carefully wrap the marzipan round the cake using the baking paper to allow you to run your hands over and smooth it all out. Carefully trim the edges of the marzipan to create clean lines then wrap tightly in the paper to help mould and secure the shape.

Repeat this process with the second block of marzipan and the remaining slices of cake.

Each cake makes roughly ten slices and can be frozen for up to a month after baking if there's any left. I would recommend slicing the cake before freezing it for faster defrosting and an easy treat.

This cake looks great and is far easier to make than it looks, it just requires a little time and patience. When you make it please take a picture and tag me at #diaryofadefectivehousewife

Sunday, 25 March 2018

Hot Cross Buns

With Easter just around the corner, I wanted to make my favourite Easter treat, the Hot Cross Bun. Made using an enriched dough, these buns take a while to prove and knead but the results are entirely worth it. When asked if he had liked them, my other half confessed he had eaten three of the batch I had delivered to his work! I used soy milk and dairy-free butter for the enriched dough but any kind can be used. Happy baking...


Ingredients:
300ml milk
50g butter
500g strong bread flour
1 tsp salt
75g caster sugar
7g fast action yeast (1 sachet)
1 egg
150g mixed fruit
1 large apple
2tsp cinnamon
75g plain flour
3 tbsp apricot jam


Method:
Place your milk and butter in a pan and melt together over a medium heat then set aside to cool enough you can stick a finger in without rude words. Put the bread flour, yeast, salt and sugar into a large bowl and create a dip in the middle. Beat the egg and place this with the milk and butter mix into the well. Using a wooden spoon, gently draw the flour mix into the milk etc until all the ingredients are well combined.

Well flour your kitchen surface and tip the dough out. Knead using the heel of your hand and stretching away for around 5 minutes until the dough is smooth and glossy. Oil a bowl and place the dough in, covering with some oiled clingfilm to prevent a crust forming. Set aside to prove in a warm place (I use the airing cupboard) for around an hour or until it dents when prodded.

While the dough is proving: core, skin and finely chop the apple. Don't be tempted to grate it as this releases loads of moisture and the dough won't rise. Mix the apple with the dried fruit and cinnamon. Once the dough has proved, add the fruit mix into the bowl and knead in the bowl to incorporate the fruit. Place back in your warm spot to prove for another hour, popping the clingfilm back on too.

Once the dough has risen again, lightly flour a couple of baking trays. Pop the dough on a  lightly floured surface and divide it into 15 even pieces (you can see from the picture mine aren't all perfect but, to me, its part of the home-made charm). Gently roll these into balls and place on the baking trays around 1cm apart. Place back into the warmth to prove for another hour.

While the buns are proving, mix together the plain flour and 5 tbsp of water, a tablespoon at a time until it forms a thick paste. Pop this in a piping bag with a thin nozzle then preheat your oven to 160c.


After the buns have proved, pipe lined over them to create crosses, the best way to do this is to create one continuous line over the buns in one direction and the repeat in the other. Pop the buns into the oven for 20 - 25 minutes until golden brown.

Gently hear the apricot jam until it becomes runny then pass through a sieve to remove lumps. Gently brush this over the buns as soon as they come out the oven to create a glaze. I didn't have any jam so skipped this stage and they still tasted gorgeous.

Place on a wire rack to cool if you can resist the smell, or crack open and slather with butter before stuffing in your mouth!

I would love to see your creations so please tag me using #diaryofadefectivehousewife.

Enjoy!


Monday, 29 January 2018

Being Defective... Coping with Allergies on a Daily Basis

As someone who has had allergies since a very small child, I have grown used to them as they come and go and have learnt over the years to tackle the problems they cause. I developed a dairy allergy in my mid teens which really affected the way I viewed myself and my peers and when my wonderful sister-in-law was diagnosed with coeliac around two years ago I knew I would do anything I could to help her through the rough transitional period between diagnosis and acceptance. My hope for this piece is that I can help at least one person going through this transition and perhaps raise awareness of the struggles faced by people with allergies, its not just 'all in our heads'.

A small allergy mark on my arm, this is quite dull and wasn't a bad one at all. 

Of my many allergies, my first manifested in toddler-hood with angry blotches on my skin covering my torso. My mum was degraded by the local doctor who informed her that she must be 'an unfit mother' and that we had bedbugs. Being a mum, and mothers do sometimes know best, she persevered and I was eventually diagnosed with Urticaria Pigmentosa, a relatively rare condition that leaves me with painful, itchy and unsightly marks over my entire body and face. These marks tend to come and go and are sometimes rationally triggered when I do/eat something I know I shouldn't but other times they just like to be a real arse and pop up to remind me I'm defective!

This allergy affected me externally first and foremost, but as I grew older and more image conscious, the appearance of odd marks caused derision amongst my peers and as a teen I would have done anything to hide them or for them to go away. Now in my mid twenties, I can accept the marks as part of what makes me 'ME' but the insecurities embedded by looking 'different' sometimes still manifest.

As a teen, I suddenly and violent became sick often several times a day for several months. After a while I suddenly realised that the common factor was that I was always sick after a meal, and being vegetarian, my meals almost always contained some form of dairy as a source of protein. The difficulty with being vegetarian was that most options contained either dairy or eggs (which I've always been intolerant to) and the vegan revolution was yet to begin .

Being an awkward and socially inept teenager, the struggle of going round to peoples houses or out for meals and having to explain what I couldn't eat meant I kept eating dairy even though it made me violent unwell for far longer than I should have. I have been so sick that I have vomited blood, and burst blood vessels in my eye balls. And people told me it was all in my head, it was 'just a phase'.

Now I am lucky enough to be confident in my own skin and to have an incredible support network through both my friends and family who are incredible in their care to prepare food I can eat. The rise in awareness of allergies and food preferences has also had an incredible impact on my quality of life. My allergies have cause me to cancel plans, bail on dates and be scared to travel, to explore new places but with research and patience anything is possible.

I wish someone could have told me as a teenager that I would be able to manage my allergies, and that I would find people that would support and nurture me rather than degrade me. Allergies now are not the stigma they were even five years ago but awareness is still limited and support is often only found through those who have been through a similar experience.

I wanted to share a few of the things I have learnt over the years, the main being listen to your own body. If you're being sick, bloated, suffer from headaches or have nearly shite yourself in public; then theres a problem! I used process of elimination to figure out whats affecting me but many health food shops offer allergy testing as will your doctors.

I always now carry a packet of mints, they both help to settle my stomach and also help freshen my breath if I am sick. Checking where the nearest bathroom is tends to be a good idea, mercy dashes have happened to me all to often and the last thing you want is to be scrabbling trying to find it.

I often take food with me to peoples homes, either something I can share with the table or something I can pop in the microwave to save the host. Also be prepared to be firm but polite about your allergies, its amazing what people assume. Cross contamination can be a major risk, especially when eating in peoples homes and without training, friends and family can't be expected to know.

When thinking about eating away from home, most places have menus online now if you know you are going somewhere in advance I always try to call and prepare them for my awkwardness! This doesn't always work but restaurants are often more than willing to prepare a little something extra but don't be surprised if you end up with a tapas style meal out of side dishes!

Another big one for me is reading labels, after a while the words just jump out and it takes seconds but to start with, spending that little bit of extra time is so worth the effort. My friends and family are now brilliant at this and have found food for me I didn't think I would be able to have. Hidden ingredients can be a nightmare, like fruit juices with milk powder in to bulk them out. Crisps are another mine-field, especially at parties where they are so often laid out in bowls all nice and ready. I make my wonderful other half try all of them and if there seems to be plain ones, I stick to them.

I have found fantastic support from online forums and Facebook groups as well as from friends and like-minded acquaintances. My hope is that this can reach out to even one person feeling lost and alone at the beginning of their allergy journey and let them know that there is hope.

Yes, I still make mistakes; and yes, I still sometimes poison myself but I have gone from being sick up to 4 times a day every day for over a year to being sick once in a year over the course of the last ten years so I consider it progress. My allergies encouraged my love of cooking which in turn encouraged me to start this blog; so allergies, I thank you.

Apologies for the lack of pictures in this blog, I realise its a bit wordy but for the first time in perhaps forever I have only had one allergy mark since I decided to write this blog! I wanted to use photos of my own skin as an example, the marks are often really bright, red and angry looking and itch like nothing on earth. A bad one can cover my entire back and feels like nettle stings have had an acid party. I have been known to be driven so mad by them that I scratch them so much I have drawn blood (although I try not to) and these marks can manifest ANYWHERE on my body.

Please share this blog to help raise awareness, allergies have a habit of making people feel very excluded and alone and I hope this can make at least one person feel a little less 'defective'.
#diaryofadefectivehousewife