Showing posts with label child-friendly baking. Show all posts

Sunday, 21 July 2019

Mocha Cupcakes

I've never really been a fan of chocolate cake but surprised myself with this one. I was asked to bake a cake for a friends birthday and she loves both chocolate and coffee so I had to try combining these classic flavours with a me-style twist to make the perfect cake. These cakes are light and fluffy on the inside and topped with a soft disc of chocolate coffee heaven. You could skip the coffee if your not keen but I love the depth of flavour it adds to these cakes.


Ingredients:
400g self-raising flour
250g brown sugar
1 1/4 tsp bicarbonate of soda
1 tsp vanilla extract
2 tsp coffee extract
4 tbsp cocoa powder
3 tbsp golden syrup
400ml soy milk
115ml sunflower oil
1 tsp cinnamon

3 bars dark chocolate
6 tbsp icing sugar
1 tsp coffee extract


Method:
Preheat your oven to 160c and lay out 24 muffin cases in trays. Place the flour, brown sugar, bicarb, cocoa powder and cinnamon in a bowl and whisk together then add the vanilla, coffee, milk, oil and golden syrup and mix until everything is well combined and the mixture is glossy and smooth.


Spoon even amounts of the mixture into the cases - I like to use an ice cream scoop for more even amounts. Make sure to scrape the bowl well as this batter likes to cling on.


Place the trays in the oven and bake for 15 to 20 minutes until springy to the touch and a skewer comes out clean. Remove from the trays and place on baking racks to cool.

Once the cakes are cool, melt the chocolate in a large bowl, do not use a soup bowl like I did as you end up with icing all over the place! I melted the chocolate in the microwave in 30 second blasts but you could also use a bain-marie if you have one.


Mix the coffee extract with the chocolate and sift in the icing sugar a little at a time until the chocolate starts to stiffen but remains glossy. Either spoon onto the cupcakes or place in a piping bag and swirl onto the cakes.


I had one of the cakes before the icing was set and it was gorgeous and oozy and a total mess to eat but they are equally lovely once set.


Please make these and take a picture, tagging me using #diaryofadefectivehousewife

Thank you


Sunday, 16 June 2019

S'Mores Cookies

Much excitement on the defective housewife front, I am now a housewife in my very own home rather than stealing everyone else's kitchens I could get my hands on! And my kitchen - its a thing of beauty and droolingness, PERFECT  for whipping up new recipes to bring to you lovely lot. I obviously had to try out the oven within 48 hours of moving in and with a pretty limited store cupboard so these cookies came from sheer excitement and have now been made 5 times in the last two weeks since we got the keys! Each batch yields around 17 cookies which last approximately 20 seconds...


Ingredients:
2 cups plain flour
1 tsp bicarbonate of soda
1 tsp baking powder
1 tsp salt
1 bar dark chocolate
1/2 cup dark brown sugar
1/2 cup caster sugar
1/2 cup plus 1 tbsp olive oil
1/4 cup plus 1 tbsp water
1 tsp cinnamon
1 bag mini marshmallows - I use vegan ones

Method:
Place the flour, bicarbonate of soda, baking powder, salt and cinnamon into a bowl and stir together. Break up and cut the bar of chocolate into chocolate chip sized pieces and add this to the bowl along with the marshmallows and coat well with the flour mix.


In a separate bowl, mix together the sugars, oil and water to create a smooth mixture. Carefully fold in the dry ingredients, mixing until all the flour is incorporated and no more.


Line two baking trays with greaseproof paper. Take a tbsp of mixture and roll between your hands to create a ball then place on the baking trays, repeat until all the mixture is used leaving a good couple of inches between each cookie ball as they spread massively when baked.


Pop the mixture into the freezer for a minimum of 30 minutes, preheat your oven to 160c fan (180c non-fan) at least 15 minutes before putting the cookies into the oven. Bake for around 15 minutes until golden brown and soft to the touch. Place on a cooling rack and the cookies will firm up and crack as they cool, gaining the stereotypical cookie look.

When you make these, please take a picture and tag me using #diaryofadefectivehousewife.

Enjoy!

Sunday, 22 July 2018

The Perfect Victoria Sponge

This recipe is one of the first things I learnt to bake by myself (with my mums help opening our incredibly heavy oven door) nearly 20 years ago and it has served me incredibly well since then. I cant begin to count how many times I have made this sponge, as well as using it as the base for so many of my other cake recipes. Once I stopped opening the oven door every 30 seconds to see if it was rising, this recipe has never failed me. Ideal as a sweet treat or for special occasions, this cake can be decorated with butter icing and all kinds but sometimes I think simplicity works best.

This recipe would also be ideal to make with children who are wanting to learn to bake... perfect for the summer holidays.


Ingredients:
6oz self raising flour
6oz caster sugar
6oz butter - I used dairy-free
3 large eggs
1 tsp baking powder
1/2 tsp vanilla extract
icing sugar for sprinkling
3-4 tbsp raspberry jam
butter for greasing


Method:

Preheat your oven to 160c fan and grease two cake tins with butter, making sure to apply a good layer to both the base and sides for a neat cake.

Place the butter, caster sugar, eggs, flour, baking powder and vanilla extract into a large bowl or food mixer and beat until the mixture becomes a light golden colour and all the ingredients are well incorporated. The consistency should be soft a fluffy feeling.

Carefully spoon the mixture into the two tins, as evenly as possible and gently smooth the tops with a spatula. You can also gently shake the tins from side to side to help the mixture spread evenly.

Bake for 20-25 minutes until the cakes are golden brown and have started to pull away from the sides of the tins. Once baked, place the cakes in their tins on baking racks to cool for 10 minutes.

To turn out the cakes, run a spatula or pallette knife around the outside of the cake to loosen the edges then carefully shake the cake up and down, moving your hands round after each shake until the cake loosens and becomes free in the tin. Tip the cake carefully either onto your hand or onto a plate before placing base down on a cooling rack.


Once the cakes are fully cooled, place one (if one has gone wrong, use this one) on a plate or cake stand and slather with raspberry jam to roughly 1cm from the edge as the jam will spread when the top layer goes on. Carefully place the other cake on top and gently sprinkle with icing sugar, either directly from the bag or through a sieve if its gone lumpy.


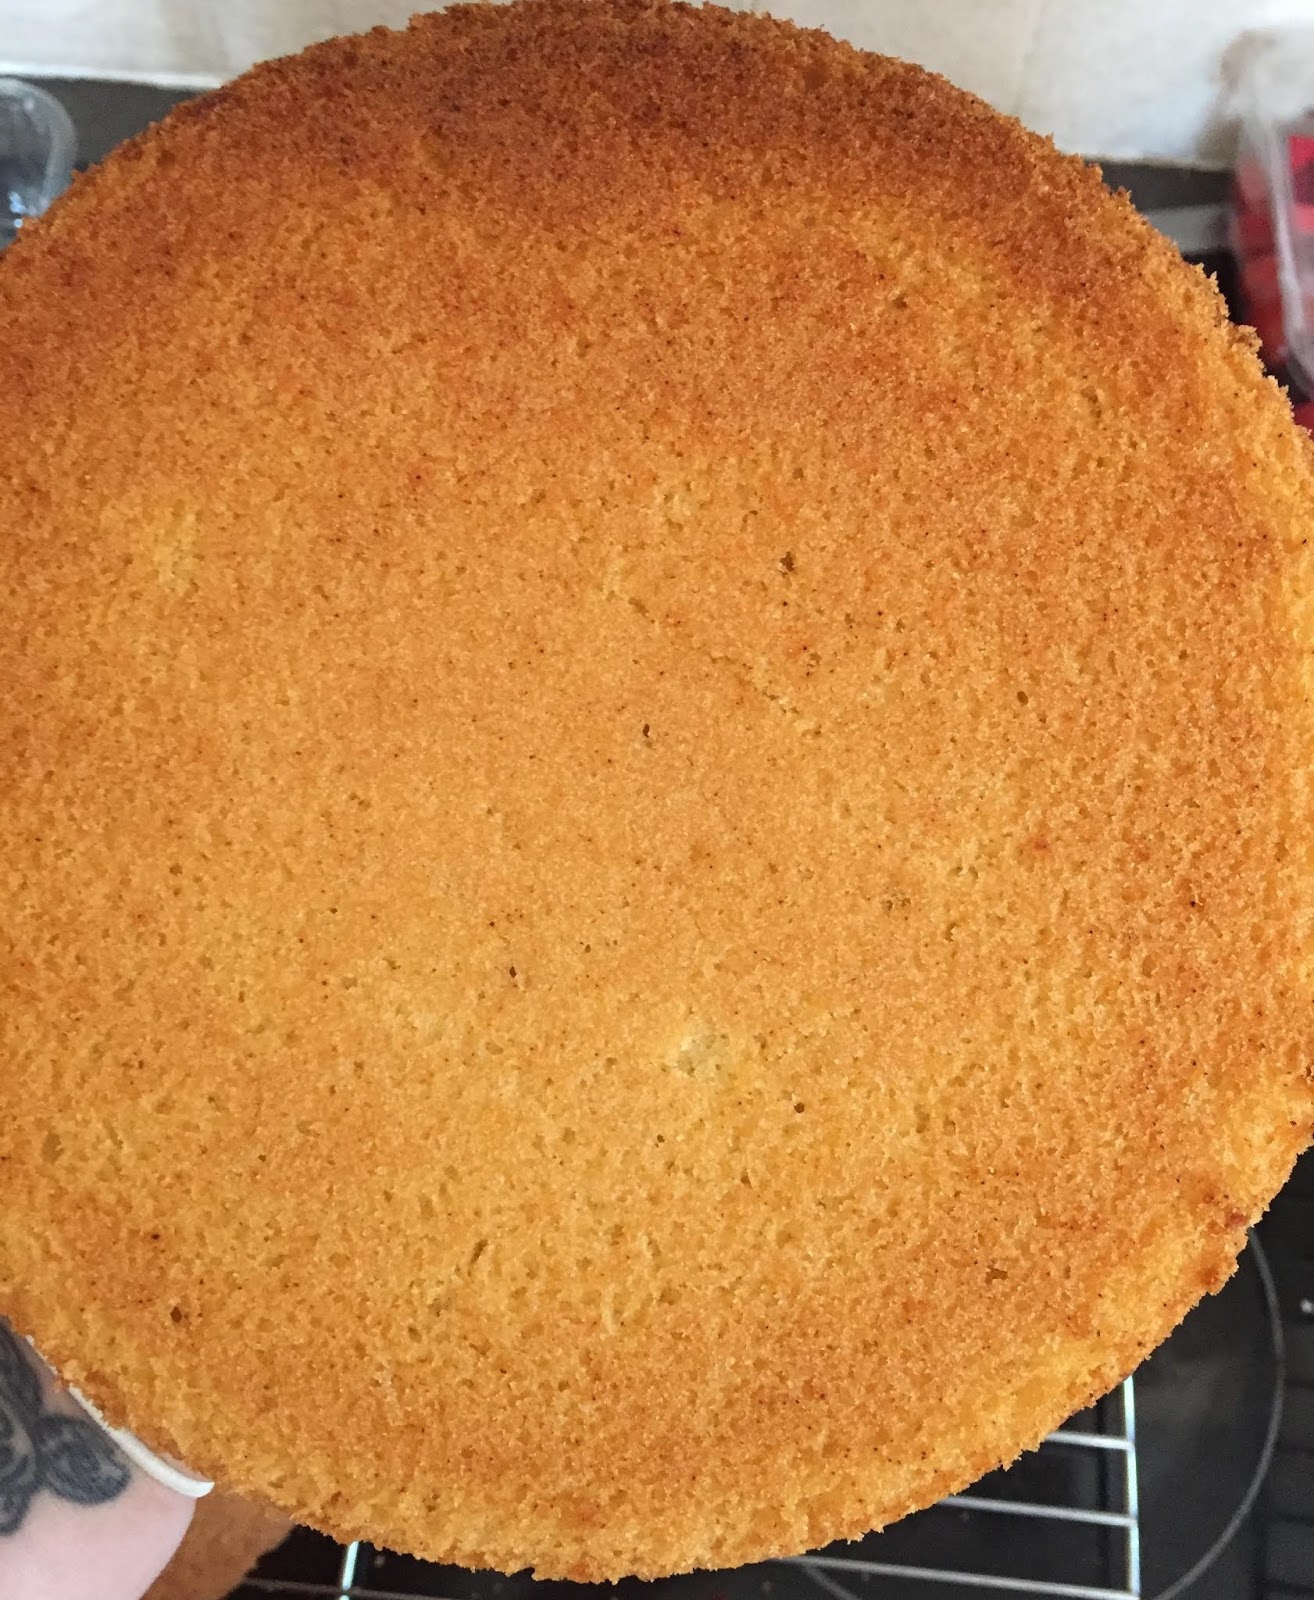
The cake should be beautifully moist and light golden brown on the inside with a slightly darker outside and an even layer of jam.

Serve a generous slice with a large cuppa and a huge sigh of delight.

When you make this, please take a picture and tag me using #diaryofadefectivehousewife

Enjoy!